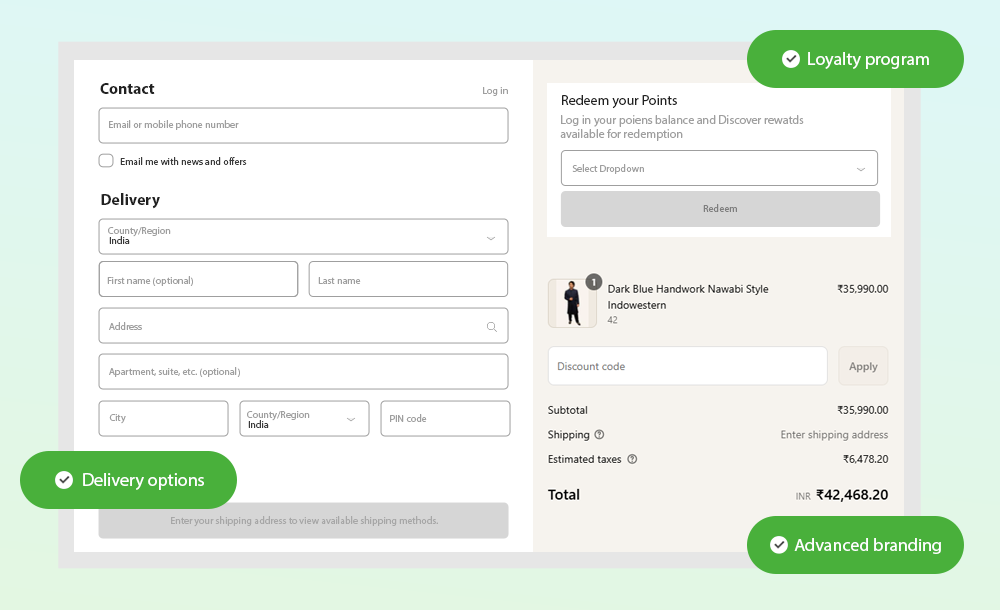
Shopify, as of January 2025, powers nearly 2.5 million e-commerce stores worldwide. While this is an impressive number on the surface, as far as the brands that operate them are concerned, competition is tough and the only way to stay ahead is to rely on accurate analytics.
That said, with Shopify’s most recent checkout upgrade, many merchants are experiencing numerous issues with tracking vital metrics in Google Analytics (GA4). The common culprits include missing transaction data, misattributed referral sources, and issues with Google Tag Manager (GTM) containers not firing when they should.
Add to this the fact that online e-commerce sales are on the rise (from 19% of retail sales worldwide in 2023 to an estimated 23% by 2027). Making critical business decisions based on inaccurate data can cost you a ton of potential revenue.
If you are a Shopify merchant experiencing the same, we’ve got you covered. This blog will walk you through how you can properly set up GTM and GA4 correctly for more accurate reporting and additional essential insights along the way. Read on!

The Underlying Problem In A Nutshell
Before we discuss how to reconfigure GTM and Google Analytics, let’s better understand the issues with the latest Shopify checkout upgrade.
At its core, the primary issue stems from how GA4 is connected with Shopify, leading to the incomplete capture of essential eCommerce events accurately, which results in:
- Incomplete or missing tracking data like reported revenue, conversion rates, and return on ad spend (ROAS) due to purchase events in GA4 being inaccurately recorded.
- Referral sources are being misattributed due to cross-domain tracking failures. Shopify’s new checkout process redirects customers through different URLs, which makes GA4 register the transaction as “direct” traffic instead of attributing it to the actual marketing source. As a result, merchants are losing valuable insights into which marketing channels are truly driving their sales.
- Checkout event tracking is being disrupted in a bid to improve data privacy. Shopify has moved from the old GTM-based checkout tracking to a more privacy-friendly Web Pixels approach, which requires additional setup to capture key data.
How to Reconfigure GTM & Google Analytics 4 To Overcome The Above Problems?

If your GA4 and Google Ad goal conversion reports show incomplete data, you will need to use Shopify’s custom pixels API to track GA4 events. There are three possible ways you can go about this:
Method 1: Using Custom Pixels API
Shopify’s Customs Pixels API is now the most reliable solution to track GA4 events, especially now that GTM is no longer supported inside Shopify’s checkout. This method will work for all Shopify merchants, regardless of your Shopify plan. Here is how to implement Shopify custom pixels for GA4 tracking:
- Navigate to the “Customer Events” tab in Shopify Admin (Shopify Admin → Settings → Customer Events). This is the interface that will allow you to add and manage all your tracking pixels.
- Click “Add Custom Pixel” and create a new pixel for GA4 tracking. Shopify will prompt you to enter a Pixel Name and the JavaScript code needed for event tracking. You can find a detailed guide on the process, here.
- Save the script and verify tracking using GA4’s DebugView. (In GA4, Admin → DebugView).
Method 2: Google & YouTube App
If using custom pixels is too complex for you, considering the coding expertise it requires, you can also use Shopify’s Google and YouTube App that enables a one-click integration between Shopify and GA4. You must know that while this method is convenient, it offers limited customization and lacks advanced event tracking. To set up GA4 tracking using this method:
- In your Shopify Admin panel, go to Apps → Google & YouTube App. If not installed, you can do so from here.
- Shopify will ask you to link your Google account.
- In the “Connect a Google Analytics property” section, you can either select an existing GA4 property from the drop-down menu or create a new one by clicking “Create New.” Once selected, click “Connect” to proceed.
- Then, head over to DebugView in GA4 to ensure that events are firing correctly.
Method 3: DIY Integration via GitHub
If you want to manually integrate GA4 with Shopify, you can use this detailed step-by-step guide we have created available on GitHub. You can use Shopify’s Preview Mode to confirm GTM fires correctly during checkout and/or use the GA4 Debug View and GTM’s built-in debugging tools to verify proper event capture.
Note:
- You can use any available GTM Debugger Extensions like Analytics Debugger Adswerve for Chrome to inspect dataLayer pushes.
- Review your GA4 reports after 24-48 hours to re-confirm proper tracking.
Bonus Tip: If complex manual integrations are not your cup of tea, you can also opt for apps like Analyzely, which can automate GA4 tracking without any of the above technical setups. That said, while apps like these do simplify the process, they lack a degree of customization and flexibility compared to a well-configured GTM setup.
Or you can simply contact Centous to help set up or fix any issues you are facing with GA4 integration.
Summing It Up
Accurate analytics are the backbone of any e-commerce venture. Shopify’s latest checkout upgrade has made tracking the vital information required a little challenging, but these hurdles can be crossed with the step-by-step process covered in this blog.
However, it’s best to rope in the experts when it comes to certain critical aspects that have a major impact on your business. Centous has over 10 years of specialized experience in design, development, and everything related to Shopify.
Get in touch with us to know what else we can do for you!


